Written by Paulina Keller
Bikepacking Four Days in the Pyrenees: Our Setup, Packing List and the Lessons We Learned Along the Way
Six months ago, neither of us had ever ridden a gravel bike. Fast forward half a year and we were getting ready to load everything we needed onto two bikes and head into the Pyrenees for our very first multi-day bikepacking trip.
And as complete bikepacking beginners, we had a lot of questions before setting off. How much gear do we really need? How far can we realistically ride in a day? How much climbing can our legs handle? And how on earth do you fit camping gear, clothes, food and everything else onto a gravel bike?
After countless YouTube videos, plenty of advice from more experienced friends and a few test rides of our own, we slowly figured out a setup that worked for us.
Here’s how we prepared for our first bikepacking adventure, what we packed and what we learned before we’d even properly hit the road.

Preparing for Our First Bikepacking Trip
Before heading into the Pyrenees, we wanted to spend as much time as possible getting comfortable on our bikes.
We started with shorter training rides and day trips, gradually getting used to spending more time in the saddle. But the most useful test was an overnighter with our complete bikepacking setup.
For the first time, we loaded up the bikes with everything we planned to bring: bags, tent, sleeping setup, cooking gear, clothes and all the little essentials that somehow add up surprisingly quickly.
It was the perfect chance to see whether everything actually fitted, and whether our packing system made sense in real life.
How Far Can We Actually Ride?
This was probably our biggest question when planning the route. Distance is one thing. Distance combined with hundreds, or thousands, of metres of climbing is something completely different.
Route-planning apps such as Komoot are incredibly useful, but we quickly realised that labels like easy, moderate and difficult don’t necessarily tell you how a route will feel with a fully loaded bike. So instead of being overly ambitious, we decided to plan a slightly easier route. Spoiler: we were very happy with that decision.
Our biggest preparation tip? Train your climbing. We definitely underestimated how much of a difference the elevation would make, and our legs reminded us of that pretty quickly on day one.

Packing for Bikepacking: Less Really Is More
If there’s one thing we learned very quickly, it’s this: every gram counts. At home, an extra T- shirt, another pair of socks or one more “just in case” item doesn’t feel like much. Halfway up a long Pyrenean climb, it suddenly does.
For our first trip, we wanted to find a balance between travelling light and still being
comfortable. We weren’t trying to create the ultimate ultralight setup. We simply wanted to bring what we genuinely needed, and avoid carrying too many things we probably wouldn’t use.

Our Bike Setup
For the trip, we rode our ROSE Backroad AL GRX 610 gravel bikes. For us, they offered exactly the mix we were looking for: efficient enough for longer stretches on tarmac, but comfortable and capable enough for gravel roads and rougher sections.
The integrated frame storage gave us extra room for tools and small essentials, while the multiple mounting points made it easy to adapt the bikes for luggage and extra bottles. The bikes came equipped with a Shimano GRX RX610 1x12 groupset, a 10-51 cassette, hydraulic disc brakes and 45 mm Continental Terra Adventure tyres, a setup that gave us plenty of range for the climbs ahead.
Flat Pedals or Clipless?
For our first bikepacking trip, we decided to keep things simple. We used SHIMANO PD- EH500 hybrid pedals, which can be ridden either clipped in or with regular shoes on the flat side.
We chose regular trainers. That might not be the most performance-focused option, but for a first trip we liked having the flexibility to jump off the bikes, walk around comfortably or explore somewhere along the way without thinking about cycling shoes.
How We Packed Our Bikes
Instead of traditional panniers, we used a lightweight bikepacking setup from Cyclite. The trick was figuring out not only what to bring, but where to put it. Heavy and frequently used items needed to be easy to reach, while bulky but lightweight gear could disappear into the bigger bags.
Frame and Top Tube Bags
Our Frame Bag became the home for smaller essentials such as our power bank, wallet, tools and extra snacks. The top tube bag had an even more important job: snacks we could reach while riding. Never underestimate the importance of easy snack access.
Handlebar Bags
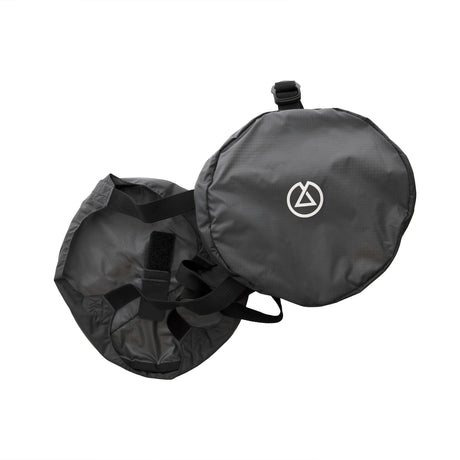
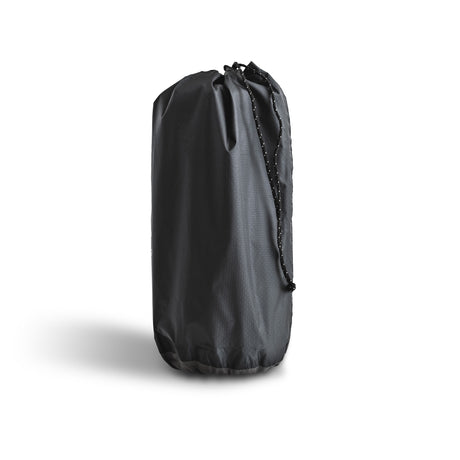
Our handlebar setup carried most of our sleeping and cooking gear. The Handle Bar Roll Bag was ideal for bulky but lightweight items such as our quilt and sleeping mat from Zenbivy, while the Handle Bar Aero Bag carried smaller camping essentials including our gas canister, foldable bowls and sporks.
Saddle Bag
Clothes and other lightweight items went into the large saddle bag. If rain was in the
forecast, we could strap our rain jackets to the outside using the elastic cord, keeping them within easy reach instead of having to unpack half the bike when the weather changed.
Water Storage
Alongside the bottle cages mounted directly to the bikes, we added two bottle holder bags to the handlebars. That gave us space for four bottles in total, something we were very grateful for on longer and more remote sections.

What Clothes Did We Pack?
Packing clothes for the Pyrenees was tricky because mountain weather can change
incredibly quickly. Our answer: layers. Instead of packing multiple complete cycling outfits, we chose pieces we could combine depending on the conditions.
Our riding kit included bib shorts, a short-sleeve jersey, arm and leg warmers, a wind jacket and a rain jacket. For cooler mornings and long descents, we could quickly add layers without having to carry an entire second outfit.
Merino wool also became one of our favourite materials for the trip. Merino socks and
clothing regulate temperature well, dry relatively quickly and, very important after several days on the road, don’t start smelling quite as quickly as some synthetic fabrics.
We also packed a spare pair of socks, underwear for the evenings, a Buff, sunglasses and lightweight trousers for the campsite, And yes: we wore our bib shorts without underwear. Pretty much every cyclist we asked recommended it, mainly to reduce friction and chafing on long days in the saddle.
Our Camping Setup
Because we wanted to keep the trip flexible, we planned to spend our nights at campsites rather than booking accommodation in advance. That gave us more freedom with our daily distances, but it also meant carrying our entire sleeping setup with us.
Tent
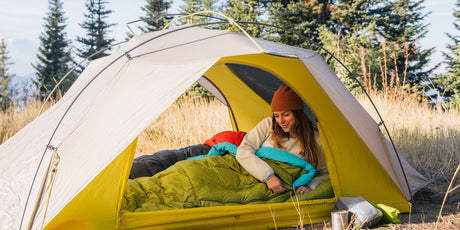
We shared a Naturehike Cloud Up tent. At around 1.8 kilograms, it was light enough to carry between the two of us while still giving us proper protection if the weather turned.

Sleeping Mat and Quilt
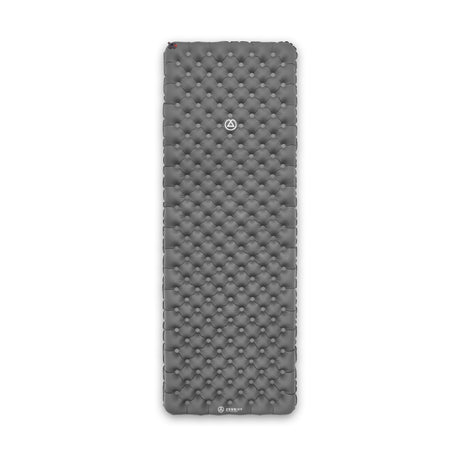
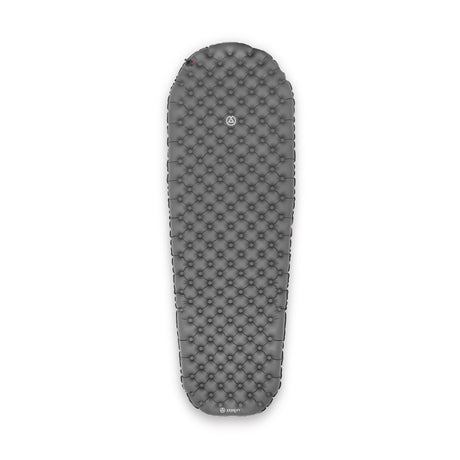
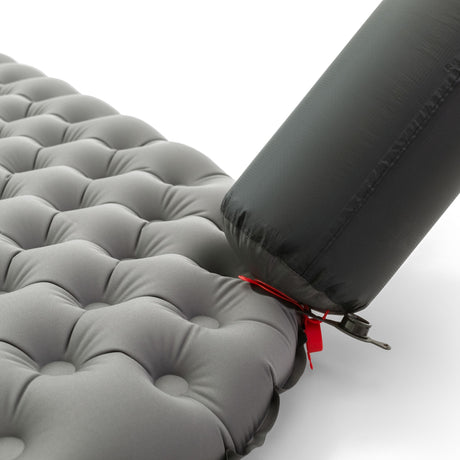
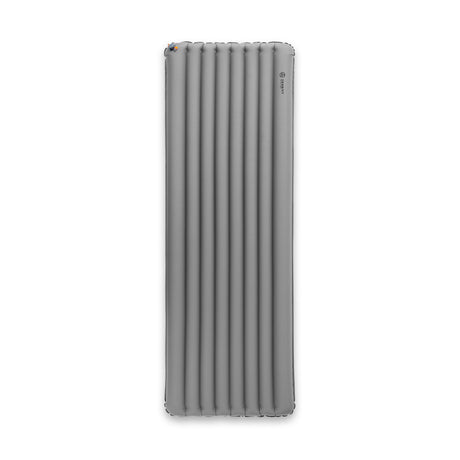
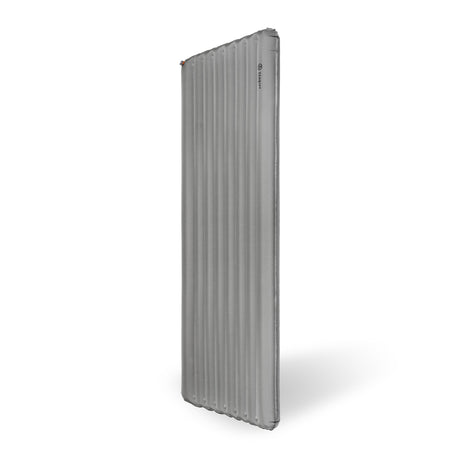
For sleeping, we used a Zenbivy Ultralight Mattress combined with a Zenbivy Ultralight Quilt instead of a traditional sleeping bag. A quilt cuts out the insulation underneath your body, where the sleeping mat is already doing the job, which saves both weight and pack space.
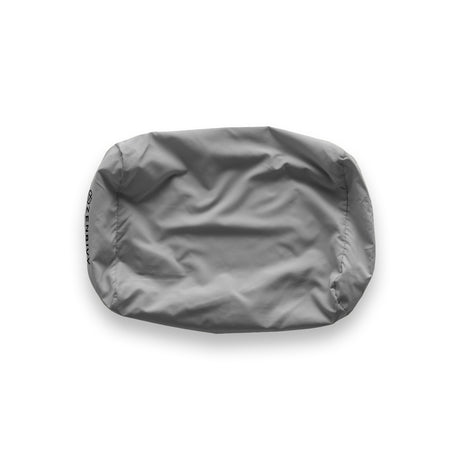
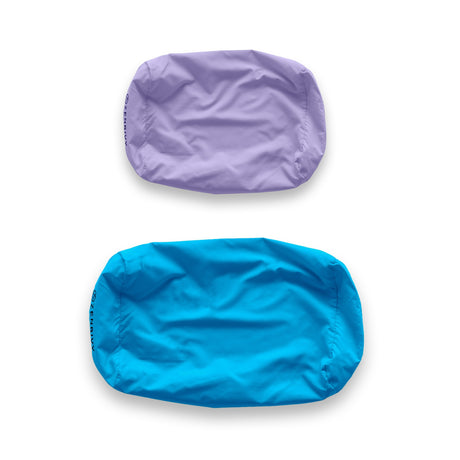
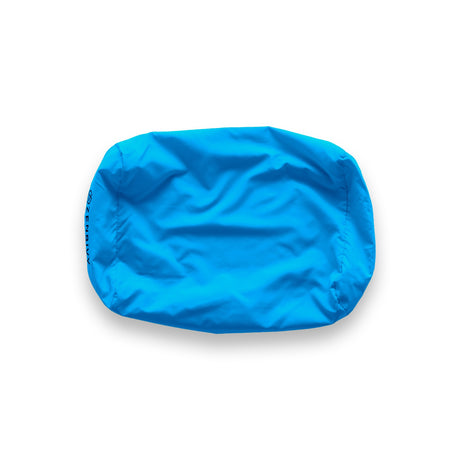
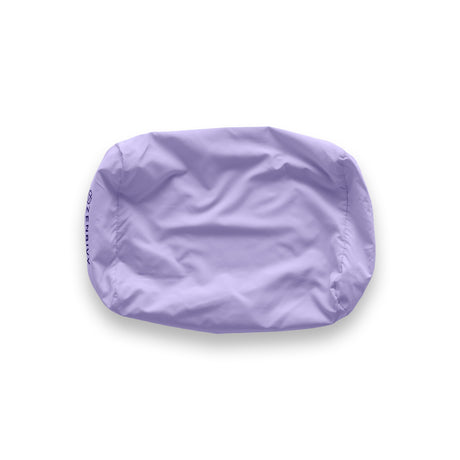
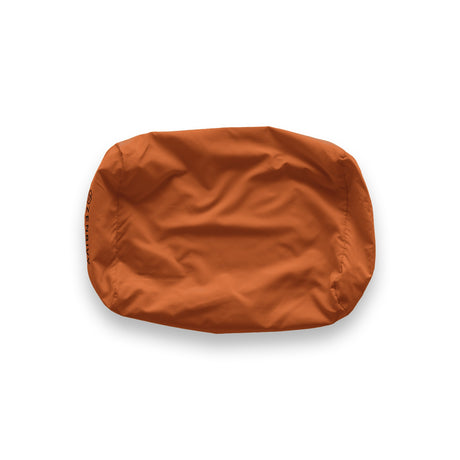
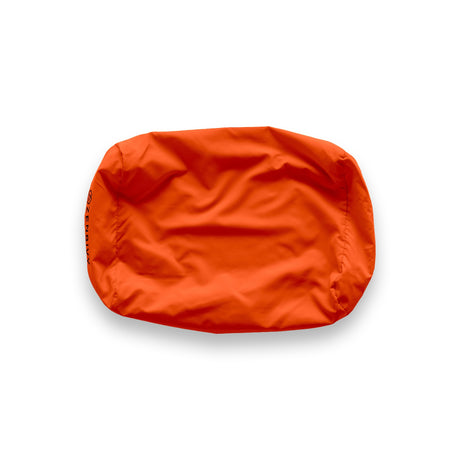
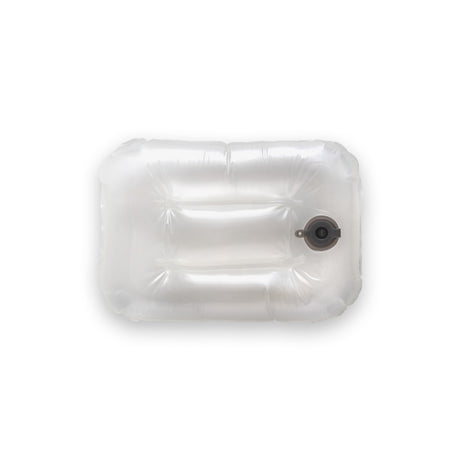
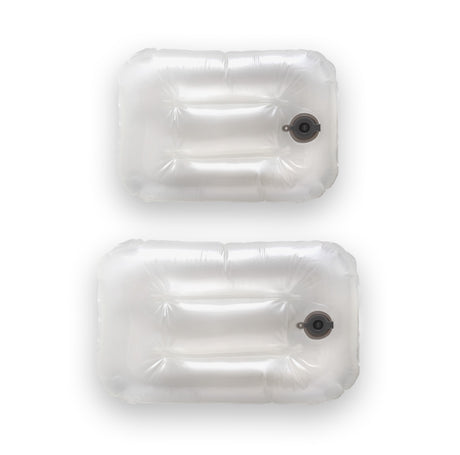
And because we were trying not to bring unnecessary extras, we skipped camping pillows altogether. A long-sleeve top or fleece stuffed into a pillowcase does the job surprisingly well.

Cooking and Food on the Road
We didn’t want to carry several days’ worth of food through the mountains. Instead, our plan was simple: find a supermarket towards the end of each day and buy dinner there.
During the day, we kept things flexible. A bakery stop for coffee and a croissant? Perfect. Pizza or a baguette for lunch? Even better.
For evenings at the campsite, we brought a small Forclaz gas stove, a 600 ml Fire-Maple Petrel Pot, foldable bowls and sporks. Our dinners were deliberately uncomplicated: pasta with pesto, couscous and anything else that was quick to cook after a long day on the bike.
And then we had the snacks. Protein bars, fruit pouches and other quick sources of energy were some of the most important things in our bags. When your energy suddenly drops halfway up a climb, a snack can make a surprisingly big difference.

Water: How Much Do You Need?
Water was another big consideration when planning our setup. We carried several bottles between the bottle cages and handlebar bottle holders and planned to refill whenever possible.
Restaurants and public drinking fountains were our main options, and we also used the application Watrify to look for public water points along the route.
Especially in the mountains, it’s worth checking refill opportunities before setting off on a longer section rather than assuming you’ll find water somewhere along the way.
Navigation and Electronics
For navigation, we kept things simple and used Komoot on our phones. A dedicated bike computer such as a Garmin Edge would have been useful, especially on more remote stretches, but for our first trip we decided to work with what we already had.
That made a power bank one of the most important pieces of kit in our bags. Between
navigation, photos and everything else we use our phones for, battery life disappears
quickly. A phone mount on the handlebars also meant we could follow the route without constantly stopping to check directions.
Safety and Repair Essentials
There are some things we were happy to carry even if we hoped we’d never need them. Our safety setup included a helmet, first-aid kit, front and rear lights, a headlamp and a small bike lock.
For repairs, we packed:
- Spare inner tubes
- Patch kit
- Tyre levers
- Chain quick link
- Chain tool
- Tubeless repair kit
- Mini pump
- Multitool
You don’t need to carry an entire bike workshop, but being able to deal with the most
common mechanical problems can be the difference between continuing your trip and
having to call it a day.
One Thing You Should Definitely Pack: Earplugs
This might not be the first thing that comes to mind when you think about bikepacking
essentials, but trust us: bring earplugs. Not only because you might end up camping next to someone who snores.
We also discovered that cows wearing bells can be surprisingly active at night. A tiny item almost no extra weight and potentially a much better night’s sleep. We learned that one the hard way.
And Remember: Plans Change
One of our first lessons actually came before the trip had even started. We originally had to postpone our adventure because of a stubborn cold that just wouldn’t go away. At first, that was incredibly frustrating. We’d planned everything, packed the bikes and were ready to go. But no route or adventure is worth forcing when your body needs rest.
Bikepacking gives you freedom, and part of that freedom is accepting that plans sometimes have to change.
What We Learned Before Our First Bikepacking Trip
Looking back at our preparation, we probably spent far too much time wondering whether we had the “perfect” setup. The truth is: there probably isn’t one.
Your first bikepacking trip is always going to involve a bit of trial and error. You’ll bring
something you never use. You’ll forget something you wish you had. You’ll probably change the way you pack your bags several times.
And that’s completely fine. For us, the most important things were testing our setup
beforehand, keeping the route realistic, preparing for the climbing and trying not to overpack.
Because in the end, you don’t need the perfect bikepacking setup to get started. You just need a bike, the essentials, and somewhere you really want to ride. For us, that somewhere was the Pyrenees. :)
Written by Paulina Keller