Step 1: Stuff It!
The Dry Sack will fit both your Zenbivy quilt and sheet. There will be enough room for your Zenbivy pillow and even a down jacket.
-
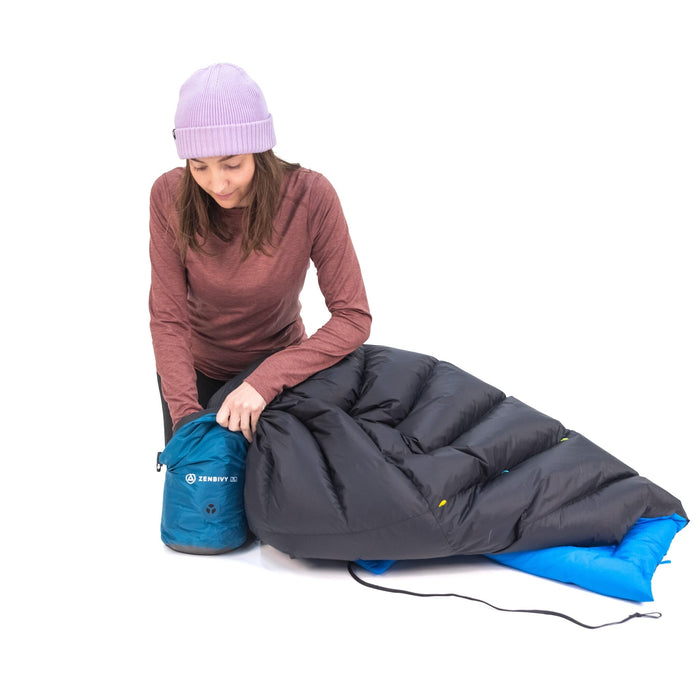
1. This is the fun part! Begin stuffing your quilt into the dry sack.
-
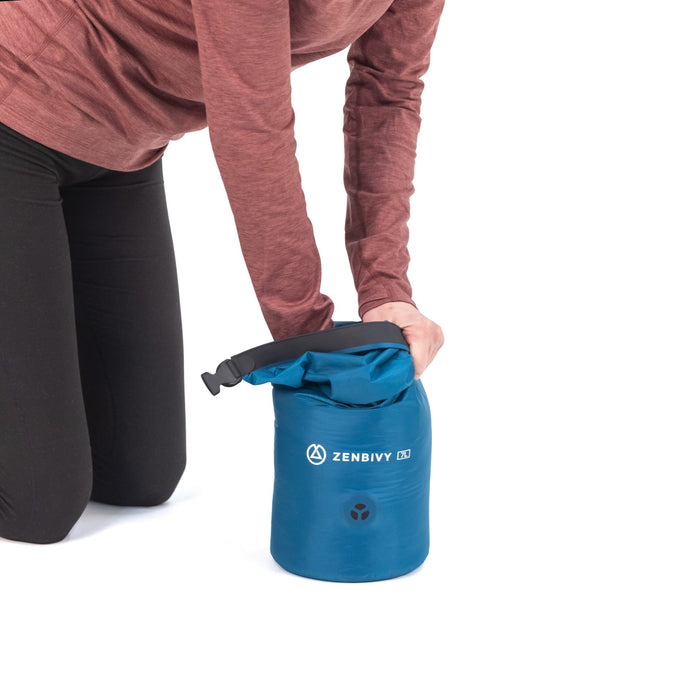
2. The key is to try to push the quilt down as far as you can in the dry sack now. This will make the following steps easier.
Step 2: Compress It!
Once you have your quilt, sheet, and any accessories stuffed down as far as you can in the dry sack, we'll roll it, clip it, and compress it.
-
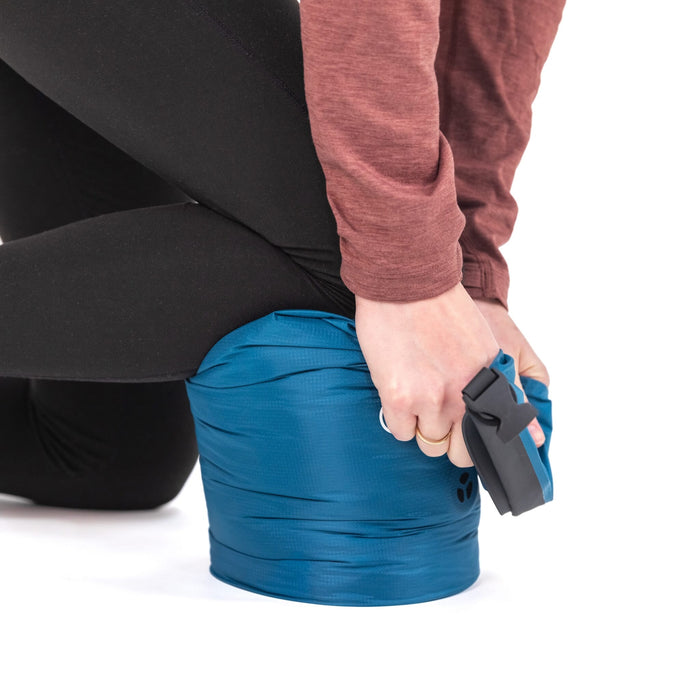
1. Before rolling the top of the dry sack, it's helpful to get as much air out as possible. Fold the top over and kneel down on it to get as much air out as possible.
-
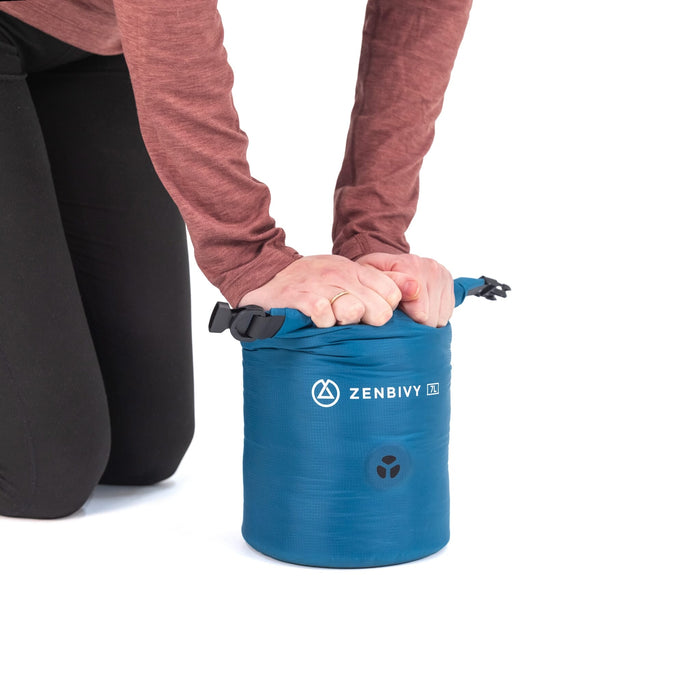
2. Grabbing the top closure of the dry sack, roll it down and push out any excess air.
-
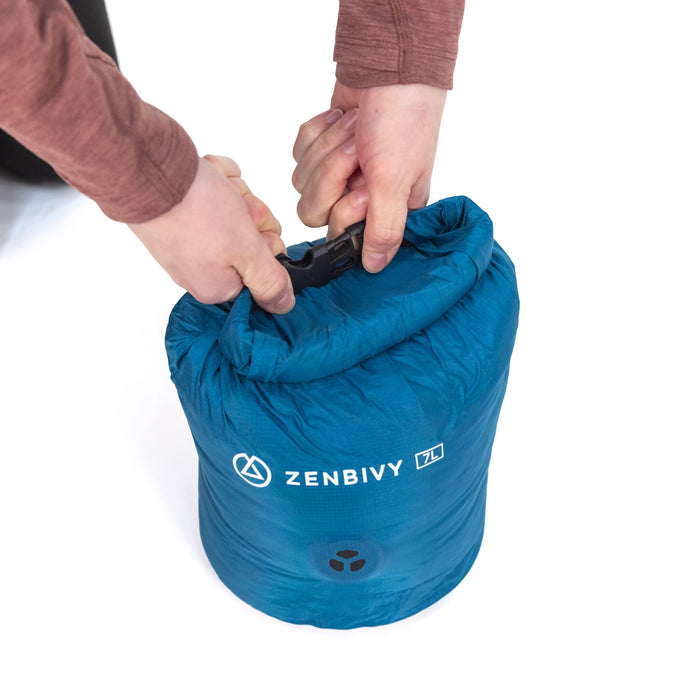
3. Clip the ends together.
Step 3: Optional Compression Caps
Compression Caps are an optional accessory. The Dry Sack will compress without them, but will slowly start to take in air. Compression Caps are designed to keep your Dry Sack compressed and as small as possible. If you decide to use them, follow the steps below!
-
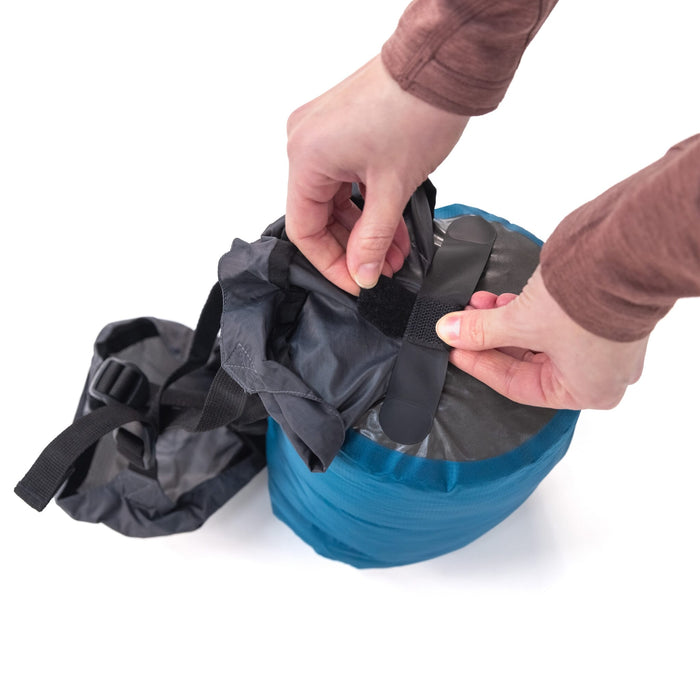
1. Attach your Compression Caps to the strap on the bottom of the Dry Sack with the velcro loop.
-

2. Making sure the straps are not twisted or overlapped, situate the top cap on the top of the Dry Sack. Cinch the straps to keep the Compression Caps in place.
-
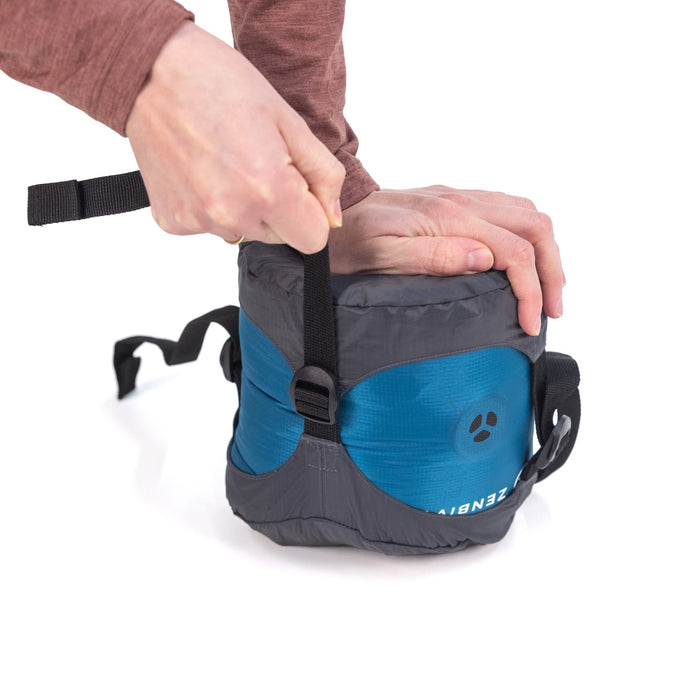
3. Flip the whole thing over. Pushing down on the Dry Sack, continue to work your way around cinching down the straps until it's nice and compact.


