How To Inflate Your Air Mattress
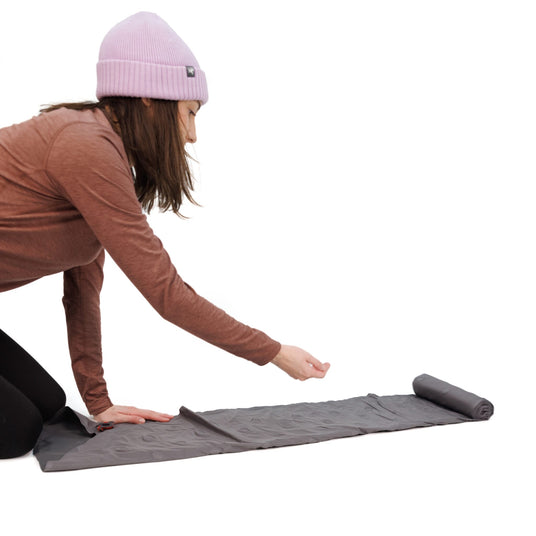
Step 1
Unroll your Zenbivy air mattress and lay it out flat.
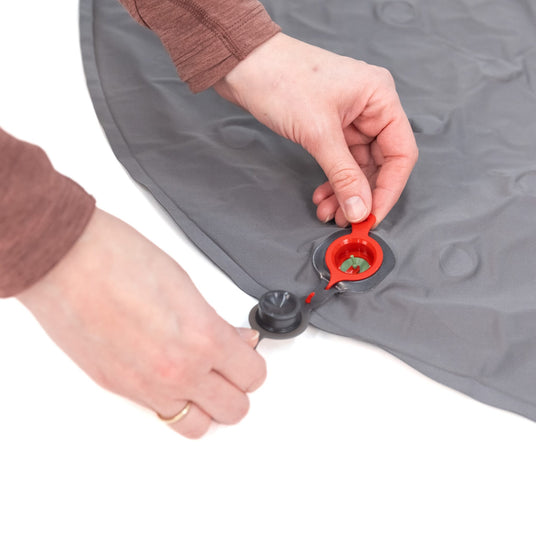
Step 2
Locate the valve and pop the gray cap out, keeping the red valve inserted.
*Note that if you have a Light Mattress your valve and Inflation Dry Sack will look different than the photos, but the process is the same. Make sure the red valve on your Light Mattress is inserted on the "Inflate" side.
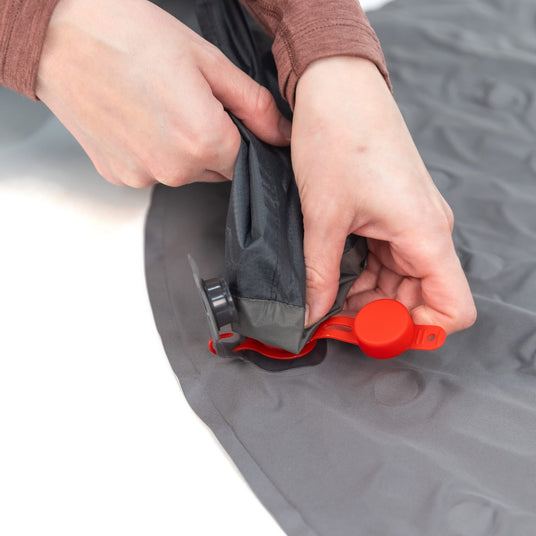
Step 3
Open the cap on the inflation sack and couple it to the red mattress valve.
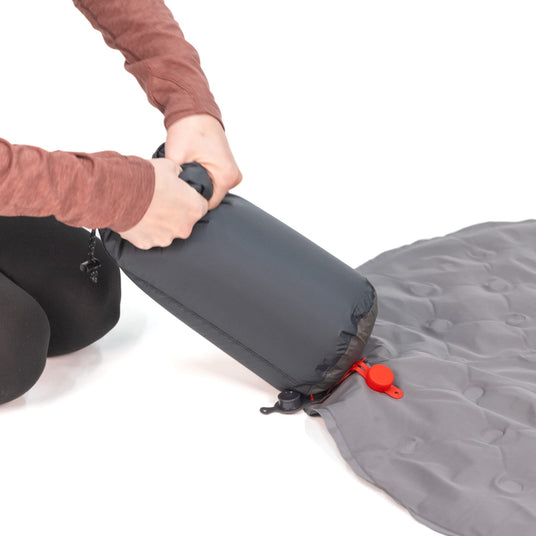
Step 4
Gather air in the inflation sack and twist the top to then push the air through and into the mattress. Keep going until the mattress is firm.
Pro Tip: Our Flex™ Air Mattress and Ultralight Mattress perform best when fully inflated - so don't hold back! The more air, the more comfort and warmth. Even at max air pressure, the air cells ensure you'll feel supported yet cushioned.
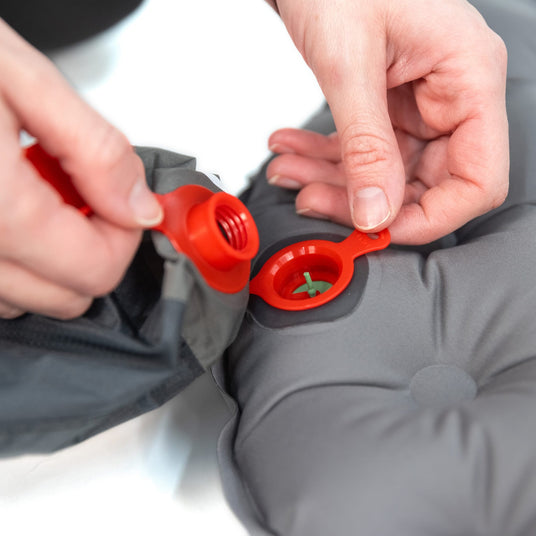
Step 5
Once the mattress is inflated, uncouple the inflation sack. Be sure not to pop the red valve out while doing so!
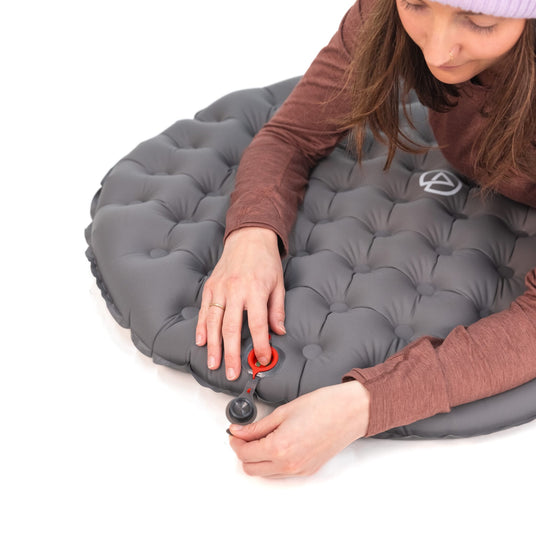
Step 6
Before capping it off, lay on the mattress and determine if the air pressure is comfortable for you. If you want to slowly release some air, simply push on the green "button" in the valve.
*Note that the Flex™ Air Mattress performs best when fully inflated due to its 4-way stretch top.
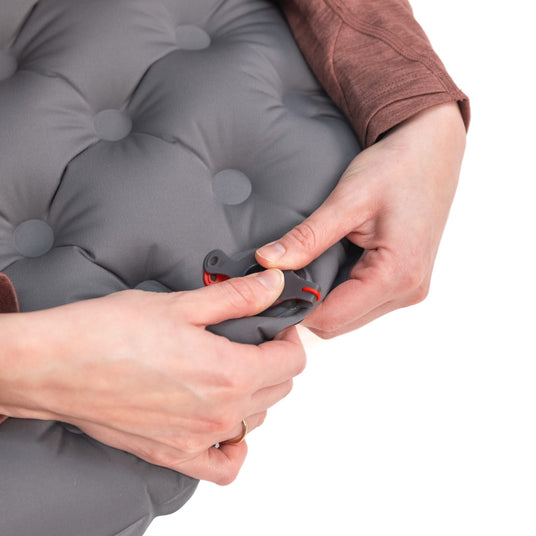
Step 7
Once you've found the sweet spot and are satisfied with the comfort level, snap the cap back in and you're ready for bed.
How To Deflate and Pack Your Air Mattress
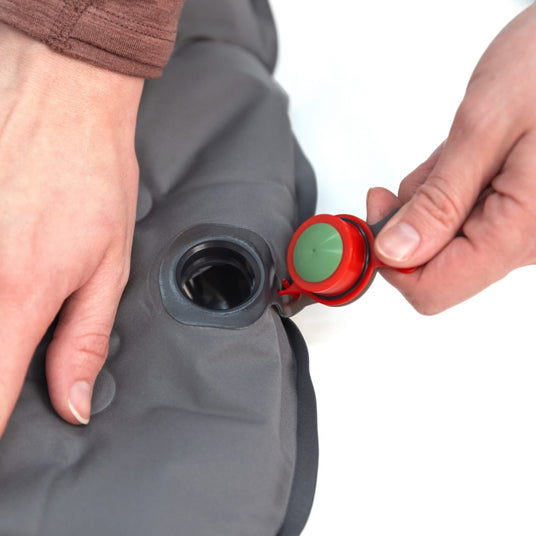
Step 1
When it's time to pack up simply pull the entire valve out. (The valve may be snug but don't worry, you won't rip the mattress!)
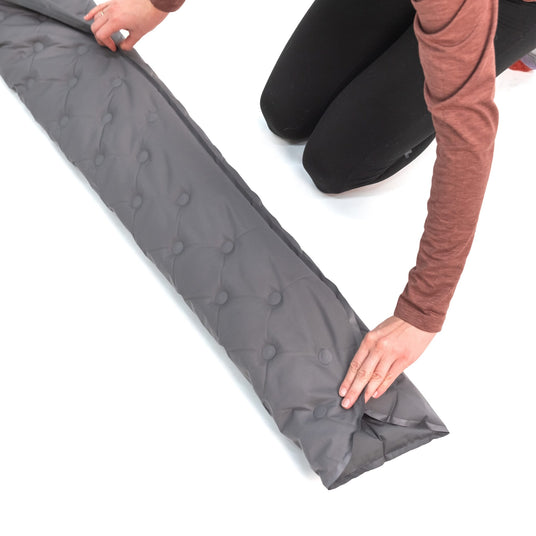
Step 2
Fold the mattress in thirds.
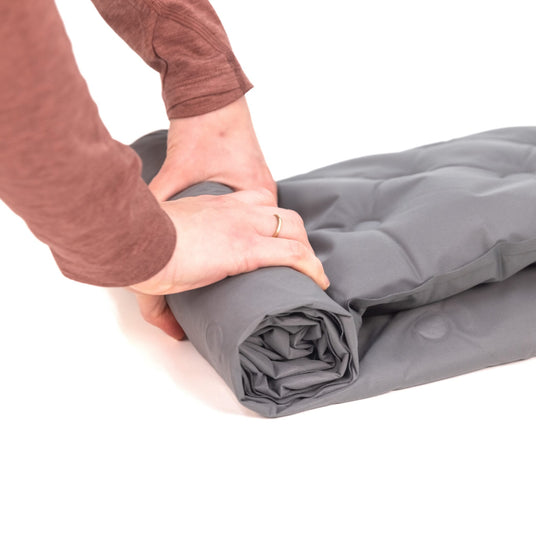
Step 3
Starting at the foot end, begin to tightly roll the mattress up towards the head (valve) end.
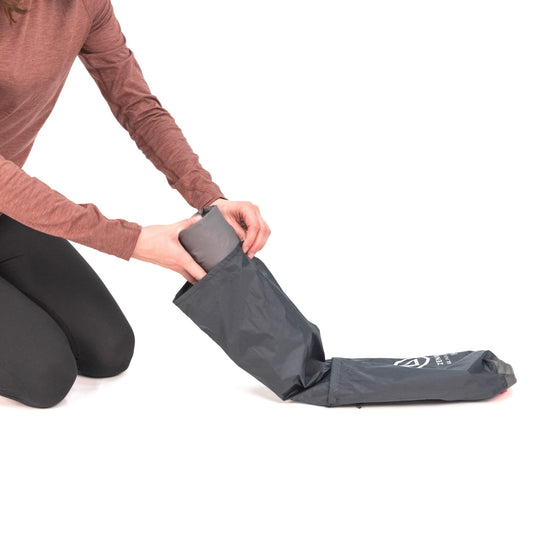
Step 4
Once you've finished rolling, slide the mattress into the inflation sack.
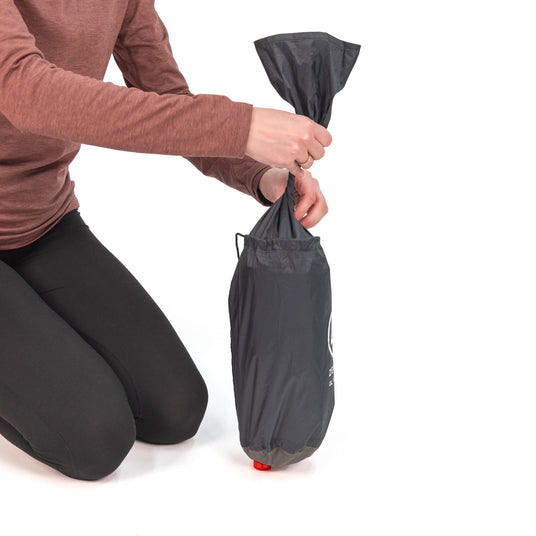
Step 5
Twist the top of the inflation sack and then stuff the excess down into the sack, below the cinch.
*If you have a Light Mattress, your Inflation Dry Sack will be a roll top closure. Simply roll the top of that dry sack down and clip the ends together to secure.
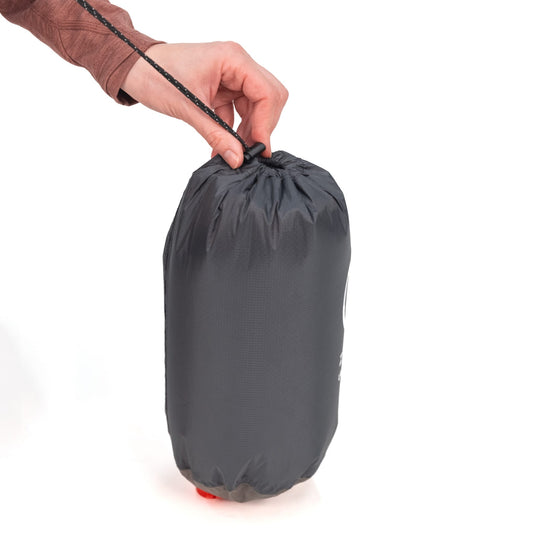
Step 6
Cinch the top of the inflation storage sack to secure. Pack it in your backpack and you're ready to go!
Cleaning Your Mattress
To do an overall wash, deflate the mattress completely and soak it in warm water in the tub. Make sure the valve is closed and capped! Use a mild soap or detergent and a wash cloth to rub any dirt, marks, or stains out. Rinse the soap off and lay it out to dry completely before storing it again. You can also spot clean the mattress with soapy warm water if that’s all that is needed.

