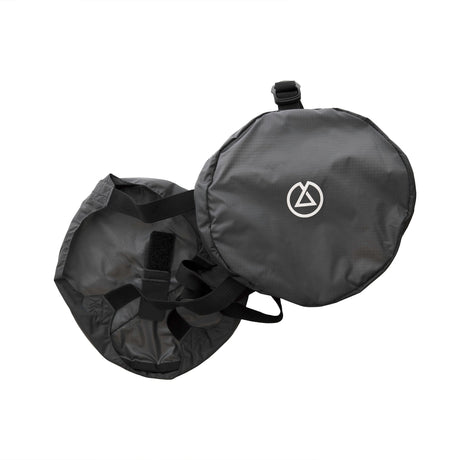
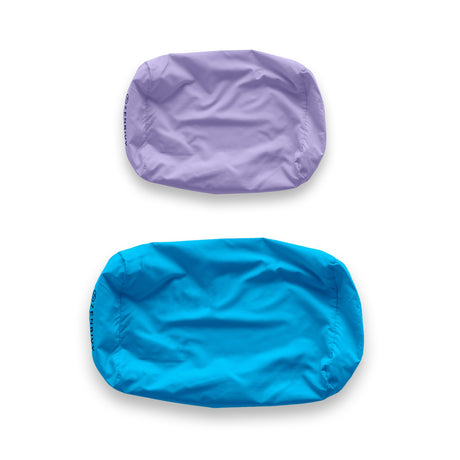
After almost a month spent on Washington’s Pacific Crest Trail earlier this summer and countless other trips, my Zenbivy was ready for a wash. I wanted to make sure that my gear was clean and ready for next season before I trade it in for my 10°F Zenbivy Light Bed for winter. One problem - I had never washed a bag or a quilt before, and I’m guessing not a lot of people have. I bought some down wash, pulled up the instructions, and set about figuring it all out.
Here’s how to do it, and some helpful tips I came across that may help:
Just a heads up: This is a very involved process - expect 2 hours of washing and 3-5 hours of drying.
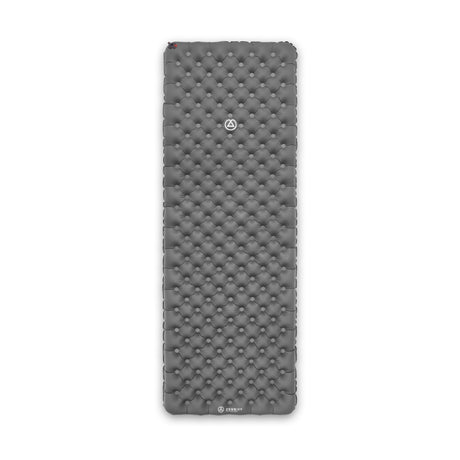
1) Unzip all the zips, unhook all hooks. Click together the straps on the back of the sheet.

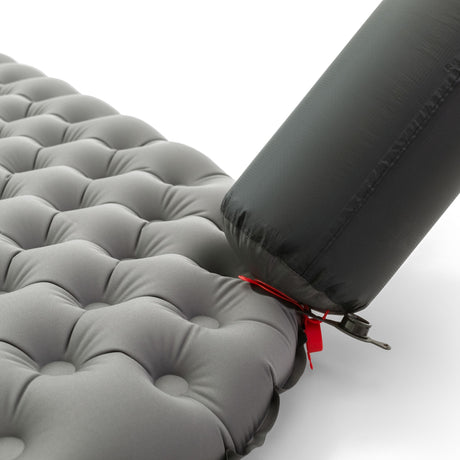
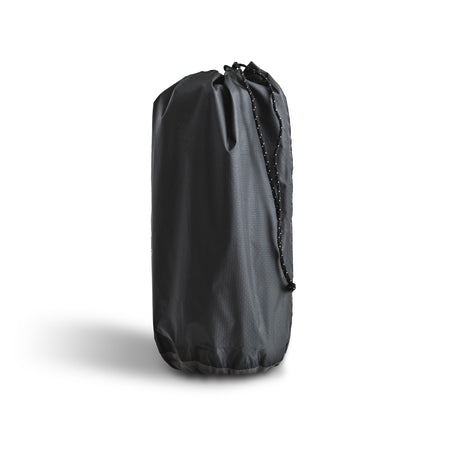
2) Compress your bag. This step wasn’t on any of the how-to guides, but I found it tough to get the air out when it was in the tub and the water. It makes sense then to compress it ahead of time, then let it draw water into the baffles in the next step.

3) Fill your tub with a few inches of warm water and add your down wash. I used Nikwax Down wash for mine, and Zenbivy recommends either Nikwax or Grangers for their bags. Use the minimum amount recommended, initially it might seem better to have more, but more soap requires more rinses.
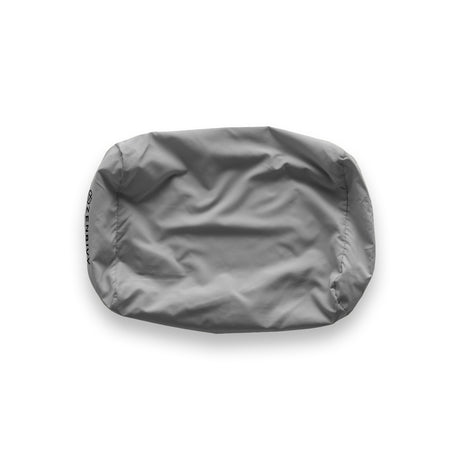
Place your sheet and quilt in the tub and let it soak in the water. Press and massage the quilt until fully wet and saturated. It may take a bit of time as these bags are really water and airtight. Be patient and gentile. Once it’s fully wet, let it sit for 15 minutes.

4) Drain the tub and gently push the soapy water out of the bag. Don’t twist or wring out the water as it can damage the quilt. I found this was tough to do, but with patience, you’ll get there.

5) Fill the tub again and completely soak the bag to rinse, drain and massage the water out. Repeat this step until no soapy residue comes out when you push the water out. Remove as much water as possible.

6) Lay a towel outside of the tub and transfer the sleep system to it. Wrap it up and move to a large flat area and lay the towel, quilt, and sheet flat, towel on the bottom. Get another towel and lay it on top, pressing down to “pat dry” the quilt and sheet. The dryer you can get it in this step, the less time it'll need in the dryer.

7) Set your dryer to it’s lowest heat and slowest spinning setting. Throw your Zenbivy in the dryer, put 2-3 tennis balls in, and run the dryer until dry. This will take a long time. I had to restart my dry 5 or 6 times until it was fully dry and fluffy.

8) Remove the fully dry bag and lay it flat, letting the down fluff. If you have any clumps, you can pull them apart through the fabric and shake out to even the down spread.

That's it! You should have a clean Zenbivy ready for your next adventure. Mine’s going into storage till summer, but I hope yours is getting back out on this weekend's adventure.