Free Shipping on US Orders over $300

Step 1: Attach the Sheet to Your Mattress

First thing's first! The sheet needs to attach around a mattress, whether it’s a Zenbivy mattress or one from another brand.

  • 1. Lay the sheet out with the hood at the top (head end) of your mattress.

  • 2. Attach the top corners of the fitted sheet around the head end of your inflated mattress. Then attach the bottom corners around the foot end of the mattress.

  • 3. Clip and adjust the strap on the underside of the mattress to secure the sheet. If needed, cinch the foot end of the sheet to fit a shorter mattress.

Step 2: Form the Footbox

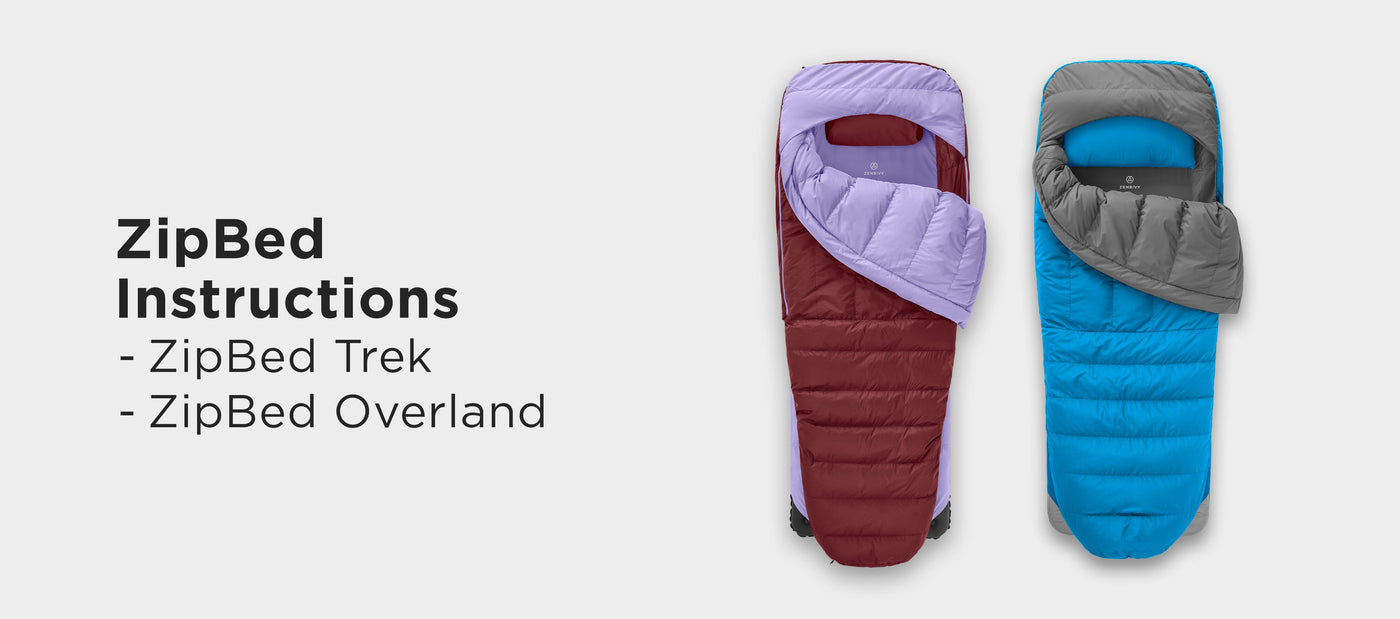
Note that the ZipBed Trek and the ZipBed Overland have different style footboxes. The ZipBed Trek has a simple semi-fixed Fast Footbox™ and the ZipBed Overland has a fully-rectangular zippered convertible footbox.

ZipBed Trek

  • The Fast Footbox™ features just one clip to quickly and easily transform it from mummy mode to wide mode.

  • You can clip the Fast Footbox™ for maximum warmth...

  • ...or unclip it for maximum space and easy venting!

ZipBed Overland

  • Scroll through all 4 steps

    1. Lay your quilt out with the lining facing up (the Zenbivy logo will be facing down). Have the foot end closest to you. Fold in the bottom corners.

  • 2. Locate the zipper on either side of the quilt. Fold the two sides together so the zipper halves line up and zip it!

  • 3. On the inside of the footbox, locate both sides of the snap and snap them together.

  • 4. Once snapped, fully cinch the drawstring to close up the footbox. This will create a draft-free seal and keep your feet warm when it's cold out.

Step 3: Zip Your Quilt to the Sheet

Attach the quilt to the sheet to block all drafts. Zipping one side is great for side sleepers, or zipping both sides is ideal when it’s cold out. Test out different options to see what works best for you!

  • 1. Lay the quilt out on top of your sheet/mattress. The footbox should be at the foot end of your mattress and the Zenbivy logo should be face up.

  • 2. Locate the zipper on the sheet and line it up with the zipper on the side of the quilt. Zip that, and do the same on the other side if you'd like to.

  • NOTE: You don't have to zip the quilt to the sheet at all if you don't feel you need to. Test it out and see what works best for you, your sleep style, and the conditions you're sleeping in.

Step 4: Clip in your SoftTop™ Pillow

Clip your Zenbivy SoftTop™ Pillow to the sheet to keep it from sliding off the mattress.

  • 1. Pop your inflated SoftTop™ Pillow into the sheet's hood.

  • 2. Locate the 2 loops inside the hood and line those up with the clips on the pillowcase.

  • 3. Clip it in!

What Are the Bungee Loops For?

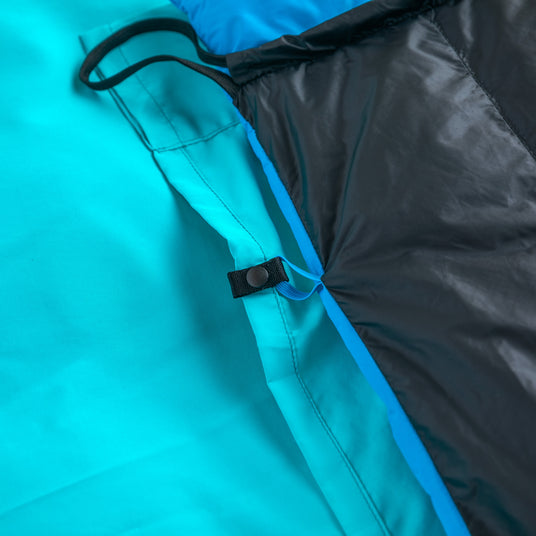
You may have noticed that there are elastic loops on your quilt that don’t appear to attach to anything… Well, they do!

The bungee loops are built into every Zenbivy quilt we’ve ever made and are there to attach our quilt accessories: Quilt Liners and Duvet Covers.

*Duvet Covers are only compatible with the Convertible Footbox quilts. 
Long-Term Storage

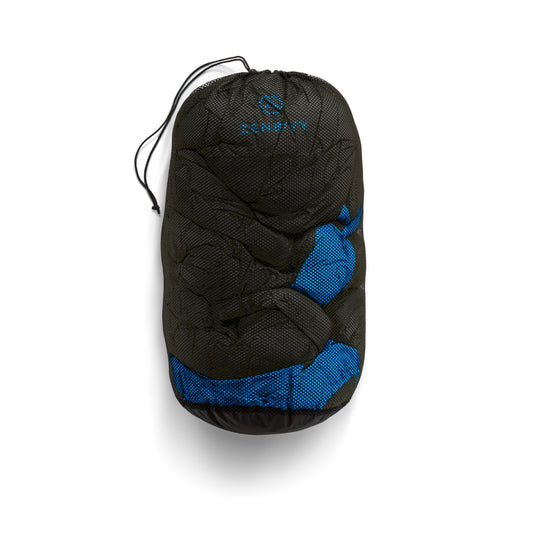
When storing your Zenbivy bed, it's important to give it space. To protect the longevity of the insulation, you never want to store it long-term (i.e. between trips) fully compressed.

Every quilt comes with a large mesh storage bag. We recommend pulling your Zenbivy quilt and sheet out of their dry sack as soon as you get home from a backpacking trip. Make sure both the quilt and sheet are completely dry before stuffing them loosely in the mesh storage sack and storing it.

We provide detailed instructions on how to wash your Zenbivy Bed, from start to finish.

Washing Instructions

Step-by-step instructions for washing your Zenbivy quilts and sheets, both down and synthetic.